LUCKY CAT GYM BREAKDOWN
The pipeline I used in the process of this project are —
-3D Studio Max for primitive modeling and blocking out the environment
-Zbrush for high poly modeling and occasional retopology
-Headus UV layout for unwrapping and relaxing UV islands
-Marmoset Toolbag 3 for baking high poly details onto optimized low poly assets
-Adobe Photoshop and Illustrator for general texture and decal work
-Quixel Suite and Megascan for procedural texture and texture painting
+Quixel also includes their Mixer and Bridge softwares which aided in the
exporting and implementation of textures/materials into Unreal Engine 4
-Unreal Engine 4 for final environment set up and render
The first step was to visualize a general idea of what I wanted the final environment to look like and then gather
reference pictures from search engines.
The idea was to create an original Pokemon gym with my own spin yet still contain elements of a typical gym to
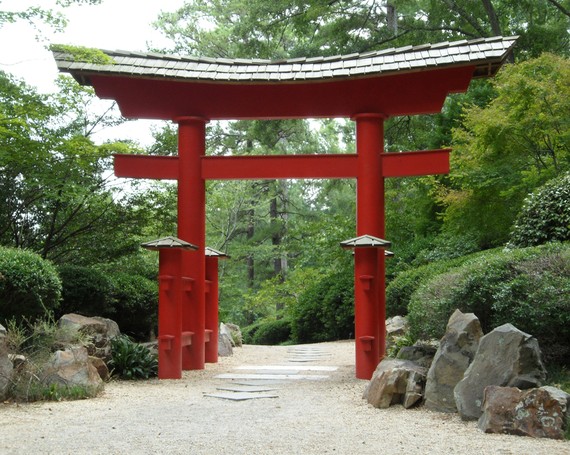
give the effects of authenticity. I generally wanted something similar to a Japanese Shinto temple, so I gathered
many reference pictures to generate a list of required props and textures.


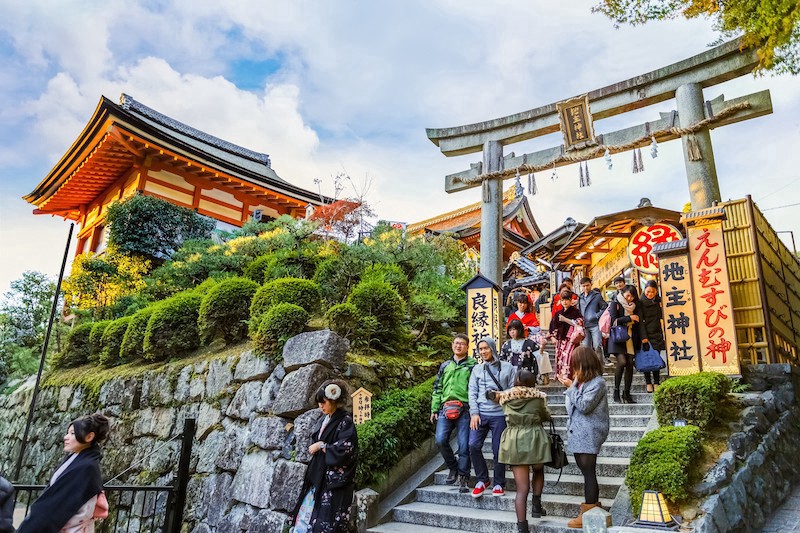
These are some of the reference pictures I’ve gathered to get more of an idea of my goal.
Of course, I also used screen shots of interior Pokemon gyms from the games, to better capture the feel of an
official gym.
Looking at the first reference picture of the entrance of some kind of temple, I liked the way it led the viewer’s
sight down the path and then up the stairs, leading to a fork. This idea fit my goal of an arena type architecture as the
actual stage for battles could be located in the center of the building.
After blocking it out, I began cranking out appropriate props from the list I’ve made, which included various decorations and a
centerpiece prop to draw the viewer’s eyes.
I decided that the centerpiece should definitely be a Pokemon themed object, flashy so as to be pleasing and eye-drawing, and
to give the gym some personality. After some searching around, I got the idea of a lucky cat statue, and what better Pokemon to
fit the bill than Meowth!
The words say Welcome! (At least I hope it does)
Learning to use Unreal Engine 4 took some time and many tutorials, as simply importing assets and placing in scene wasn’t
enough to achieve the look I was hoping for.
After blocking the majority of the scene in 3DS Max, I started importing into UE4, and tweaking multiple settings of the textures
and models.
+Normal maps needed the green channel to be flipped
+Models needed adjusting of lightmaps to fix shadow artifacts after baking
+Texture materials needed adjusting to change asset renders to better match the environment lighting
Utilizing Quixel’s Bridge software, I was able to easily import textures at the right size, and have it automatically set up in a
material instance ready to be applied on my models right away.
After getting down the work flow, from basic modeling to optimized game ready assets with full maps, it was a matter of rinse
and repeat until I was satisfied with the amount of props in the scene.
Then came tweaking Unreal Engine’s settings, lighting, and post processing, all of which I was unaccustomed to as this was
my first project in Unreal Engine. It was a learning experience, and many YouTube tutorials were watched, but the time and effort
I dedicated into it paid off.
Things I’ve added to the scene includes:
-Sphere Reflection Captures
-Deferred Decals
-Different kinds of lights, most set to Static, with the exception of Dynamic lights on the lanterns and center light fixture
+In Unreal Engine 4, Subsurface Scattering materials which allow light to pass through the textures, are only affected
by lights set to Stationary or Movable, otherwise the desired transparency effect will not work after baking.
-Directional light to act as the light source
-Skylight for ambient lighting and soft shadow casting
-Sky box for the clouds
-Exponential fog to catch the god rays
-Post processing for color correction, LUT addition, visual affects, and other tweaks for appearance
+For the color correction, I aimed for a mixture of warm and cold colors for the complimentary effect
+The Look Up Table (LUT) was made by taking a screenshot of the base render with no color correction,
then taken into Photoshop with a basic LUT pasted on the side in a separate layer, and then color corrected all together.
DISCLAIMER: I did not profit monetarily from this project in any way; this is purely a fan made portfolio piece done to expand my
abilities


